

Tinsel Colored Lashes: Tips for Perfect Placement and Styling
As a lash artist, you know the power of the perfect set of lashes. But sometimes, your clients want something extra—something that will make their eyes stand out, something a little bold, a little daring. Enter TINSEL COLORED LASHES!
These little bundles of sparkle are not only fun to apply, but they also offer endless creative possibilities. Whether your client wants a subtle shimmer or a full-on color pop, getting the placement and styling just right can make all the difference.
But here’s the thing: Tinsel lashes aren’t like regular lashes. They come with their own set of challenges, from the shiny coating to the delicate texture. Getting them perfectly placed and styled requires some finesse.

Cashmere Noir Collection Lashes, Tinsel Lashes, Incredible Retention Primer, Super Bonder, and Bullet Lash Adhesive are used in this set. To shop, please click here.
New to lash photo editing? We've got you covered with our Free Lash Editing Tutorial. Click here to learn more!
That’s why we’re here to give you the ultimate guide to tinsel colored lashes—from placement tips to creative styling ideas that will leave your clients absolutely in love with their new look.
1. Choose the Right Color and Finish for Your Client
The first step to creating a perfect tinsel lash look is to pick the right color for your client’s personality, eye color, and style. Tinsel lashes come in a wide range of shades—from soft pastels to bold metallics, and everything in between.
The right color will help your client’s lashes blend seamlessly with their natural lashes while adding that extra touch of sparkle.

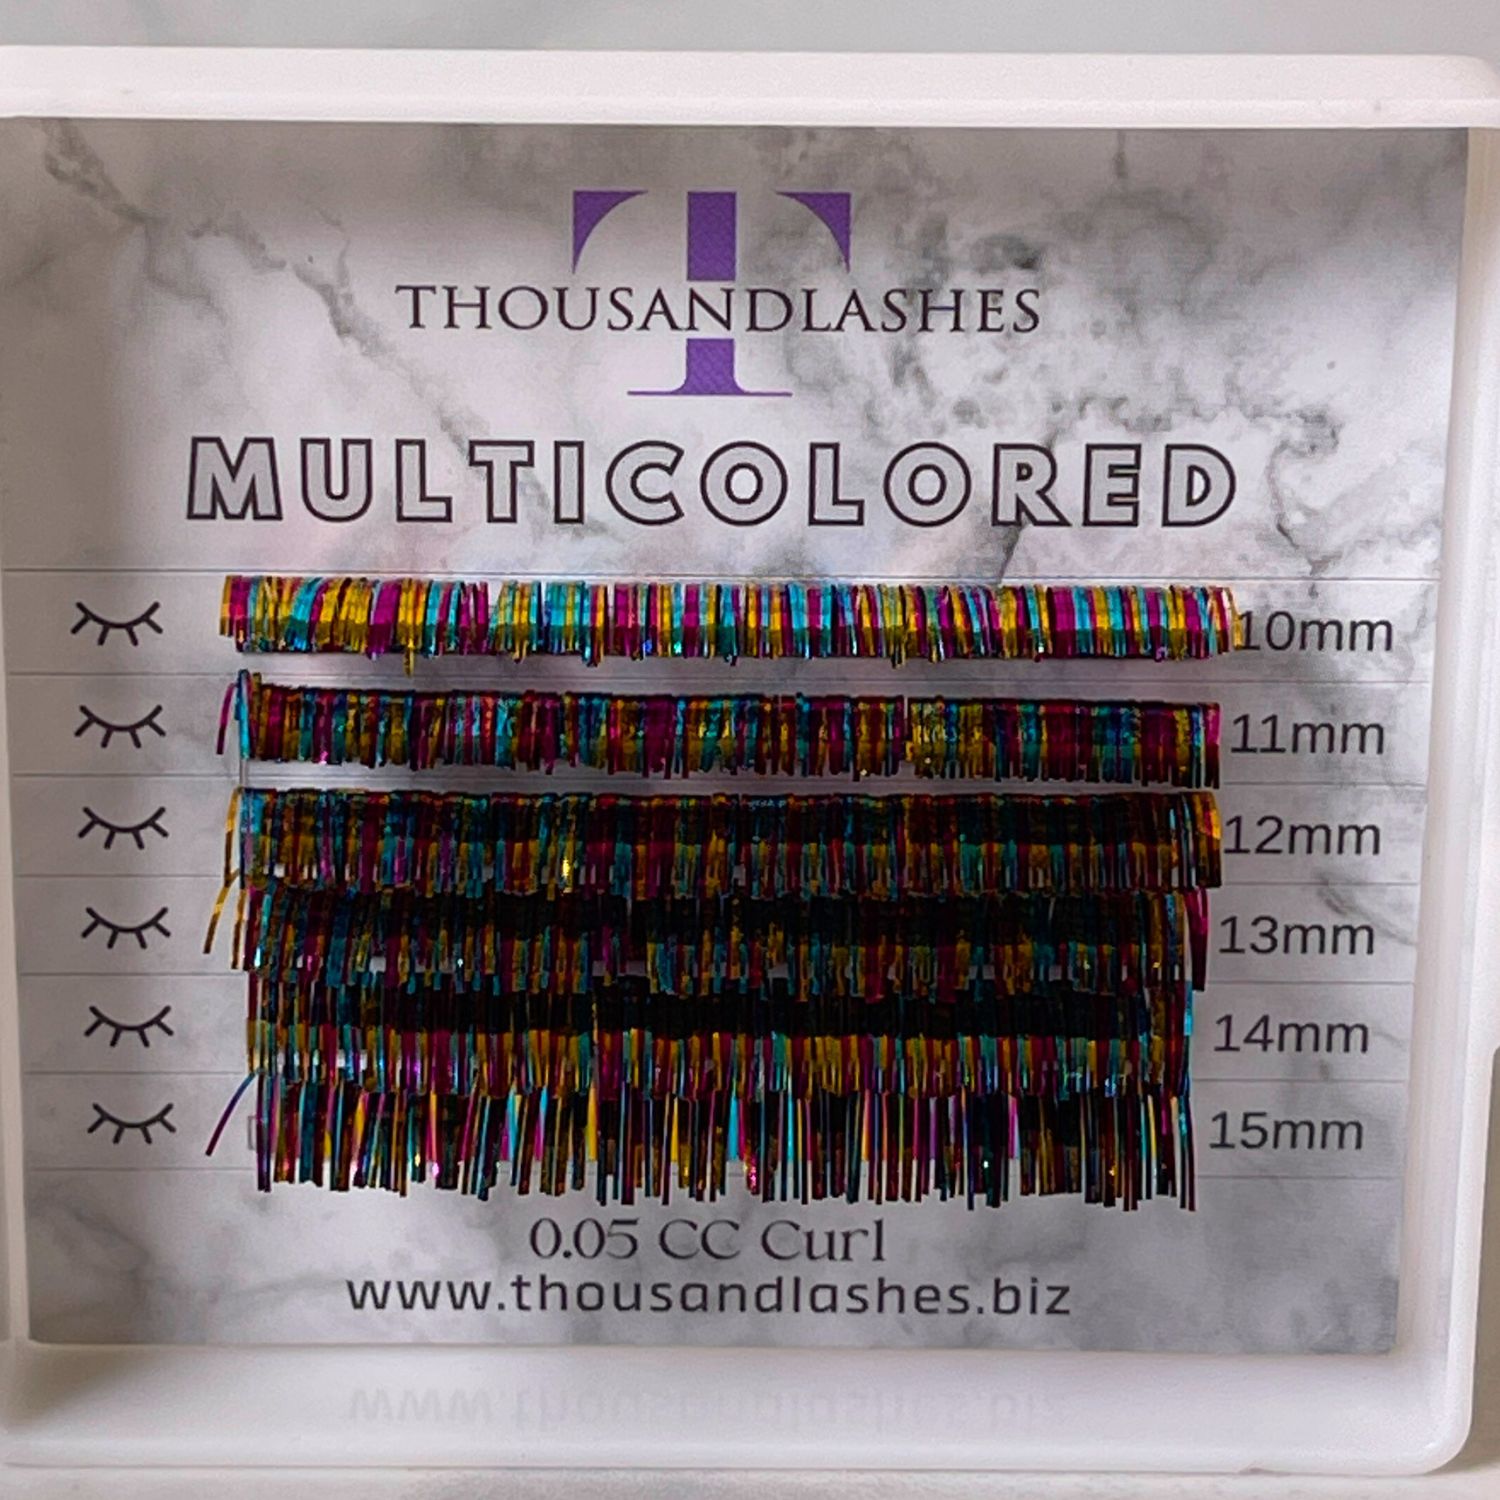
Tinsel Lash Collection 0.05 Mixed Length (9-15mm) is used here. To shop, please click here.
Subtle Shades: For clients who want something softer, consider pastel shades like lavender, mint green, or baby pink. These provide a gentle pop of color without being overwhelming.
Bold Colors: Clients who want to turn heads will love neon pink, electric blue, or fiery red tinsel lashes. These are perfect for parties, festivals, or special events.
Metallic Finishes: If your client is looking for something more luxurious, go for gold, silver, or copper tinsel lashes. They give a stunning, glamorous shine that will make any set stand out.
Rainbow Lashes: For the ultimate bold statement, rainbow tinsel lashes can be mixed into any set for a fun, multi-colored effect.
Tip: When in doubt, always ask your client what they envision for their look. Show them some examples of how different colors can change the feel of the set, and remember that tinsel lashes can be layered for even more impact!
2. Perfect Placement: Where to Put Tinsel Lashes
Placement is everything when it comes to tinsel lashes. If you place them incorrectly, they could overpower the natural lashes or not sit properly. Here’s how to get it right.

Tinsel Lashes, Incredible Retention Primer, Bullet Lash Adhesive, Hydrogel Under Eye Patches, Straight Isolation Tweezer, Large Tip Boot Tweezer and Lash Tape are used in this set. To shop, please click here.
Outer Corners
One of the most common and easiest ways to apply tinsel lashes is in the outer corners. This gives a subtle pop of color and adds dimension to the lash line without going overboard. It’s perfect for clients who want to enhance their eyes without feeling like they’re wearing something too bold.
How to do it: Apply tinsel lashes only on the outer third of the lash line, blending them into the natural lashes. This way, you get that extra flair while still keeping the overall look balanced.
Inner Corners
For clients who want a more unique look, placing tinsel lashes in the inner corners creates a bright, eye-opening effect. This placement works really well for soft pastel colors like lavender or peach, as it adds a light, fun element to the eyes.
How to do it: Apply the tinsel lashes lightly on the inner third of the lash line. Use a soft hand to avoid clumping and ensure that the tinsel lashes blend smoothly with the natural lashes.
Full Lash Line
If your client is all about making a statement, you can apply tinsel lashes across the entire lash line. This works especially well with bold metallics like gold or silver or for creating a rainbow effect with multiple colors.
How to do it: For full coverage, make sure each tinsel lash is spaced evenly along the lash line. This might take a little longer than partial placement, but it will create a more dramatic effect.
Under the Lash Line
For something a little different, consider placing tinsel lashes underneath the lower lash line. This look is eye-catching, especially with vibrant colors like electric blue or neon pink.
How to do it: Apply the tinsel lashes with a gentle hand, keeping them close to the lower lashes. This look works best when the upper lash line is kept simple, so the bottom lashes can truly shine.
3. Layering Tinsel Lashes for Extra Impact
One of the best things about tinsel colored lashes is that they can be layered for added drama. Layering allows you to combine different colors or textures to create something truly unique.

Cashmere Noir Collection Lashes, Incredible Retention Primer, Bullet Lash Adhesive, Hydrogel Under Eye Patches, Straight Isolation Tweezer, Large Tip Boot Tweezer and Lash Tape are used in this set. To shop, please click here.
How to do it: Start with a base of black or brown lashes to keep the look grounded. Then, add tinsel lashes in strategic spots—like in the outer corners, or mixed in between the natural lashes. You can also layer colors for a gradient effect, starting with a pastel color at the inner corners and transitioning to a deeper, bolder shade on the outer corners.
Best for: Clients who love bold, unique designs and aren’t afraid to stand out.
Tip: Layering tinsel lashes in a gradient effect (lighter color on the inside, darker color on the outside) is one of the most flattering ways to blend color while keeping the look natural and stylish.
4. Consider Lash Length and Volume
Tinsel lashes come in a variety of lengths and thicknesses, and it’s important to pick the right one to suit the length and volume of your client’s natural lashes.

Cashmere Noir Collection Lashes, Tinsel Lashes, Incredible Retention Primer, Super Bonder, and Bullet Lash Adhesive are used in this set. To shop, please click here.
Short and Subtle: If your client has shorter lashes, consider using shorter tinsel lashes to avoid an overwhelming look. You can apply them more subtly, or layer them in specific sections to enhance the natural lash line.
Long and Full: For clients with longer lashes, you can use longer tinsel lashes and apply them along the full lash line for maximum impact. This works particularly well with bold colors like red or neon pink, where you want the color to really stand out.
Tip: Always ensure that the tinsel lashes you use match your client’s natural lash length to avoid weighing down the lashes or creating an unnatural effect. If your client’s natural lashes are thick and full, you can afford to go a little longer with the tinsel lashes.
5. Styling Ideas to Elevate the Look
Tinsel lashes aren’t just about adding color—they’re about creating artistic designs.

Tinsel Lashes, Incredible Retention Primer, Bullet Lash Adhesive, Hydrogel Under Eye Patches, Diamonds Heart Lash Mirror for Eyelash Extension and Lash Tape are used in this set. To shop, please click here.
Here are a few ways you can style them:
Ombré Effect: Use soft pastel tinsel lashes for an ombré effect that transitions from light to dark across the lash line. This can be a really flattering way to add color without going overboard.
Feathered Lashes: For a lighter, more natural look, try placing tinsel lashes sporadically along the lash line to mimic the feathered effect. This gives a delicate touch of color that still blends seamlessly with the natural lashes.
Clustered Color Pops: Group tinsel lashes together in small clusters to create concentrated color pops. You can apply these in the outer corners or just above the pupil to draw attention to specific areas of the eyes.
6. Final Touches and Aftercare
Once you’ve applied the perfect set of tinsel lashes, it’s time for the final touches. Make sure to brush through the lashes with a clean spoolie to separate them and ensure they aren’t clumped together.

Cashmere Noir Collection Lashes, Tinsel Lashes, Incredible Retention Primer, Super Bonder, and Bullet Lash Adhesive are used in this set. To shop, please click here.
Educating your clients on aftercare is just as important as the application itself. Tinsel lashes can be a bit more delicate than regular extensions, so let your clients know:
-
Avoid oil-based makeup removers around the lash line, as this can weaken the adhesive.
-
Use a gentle lash cleanser to keep their lashes clean and free of debris.
-
Don’t rub their eyes or pull on the lashes to avoid causing damage or premature fallout.
For more tips like this one be sure to subscribe to our email list, we send very informative and helpful emails every week, please click here.
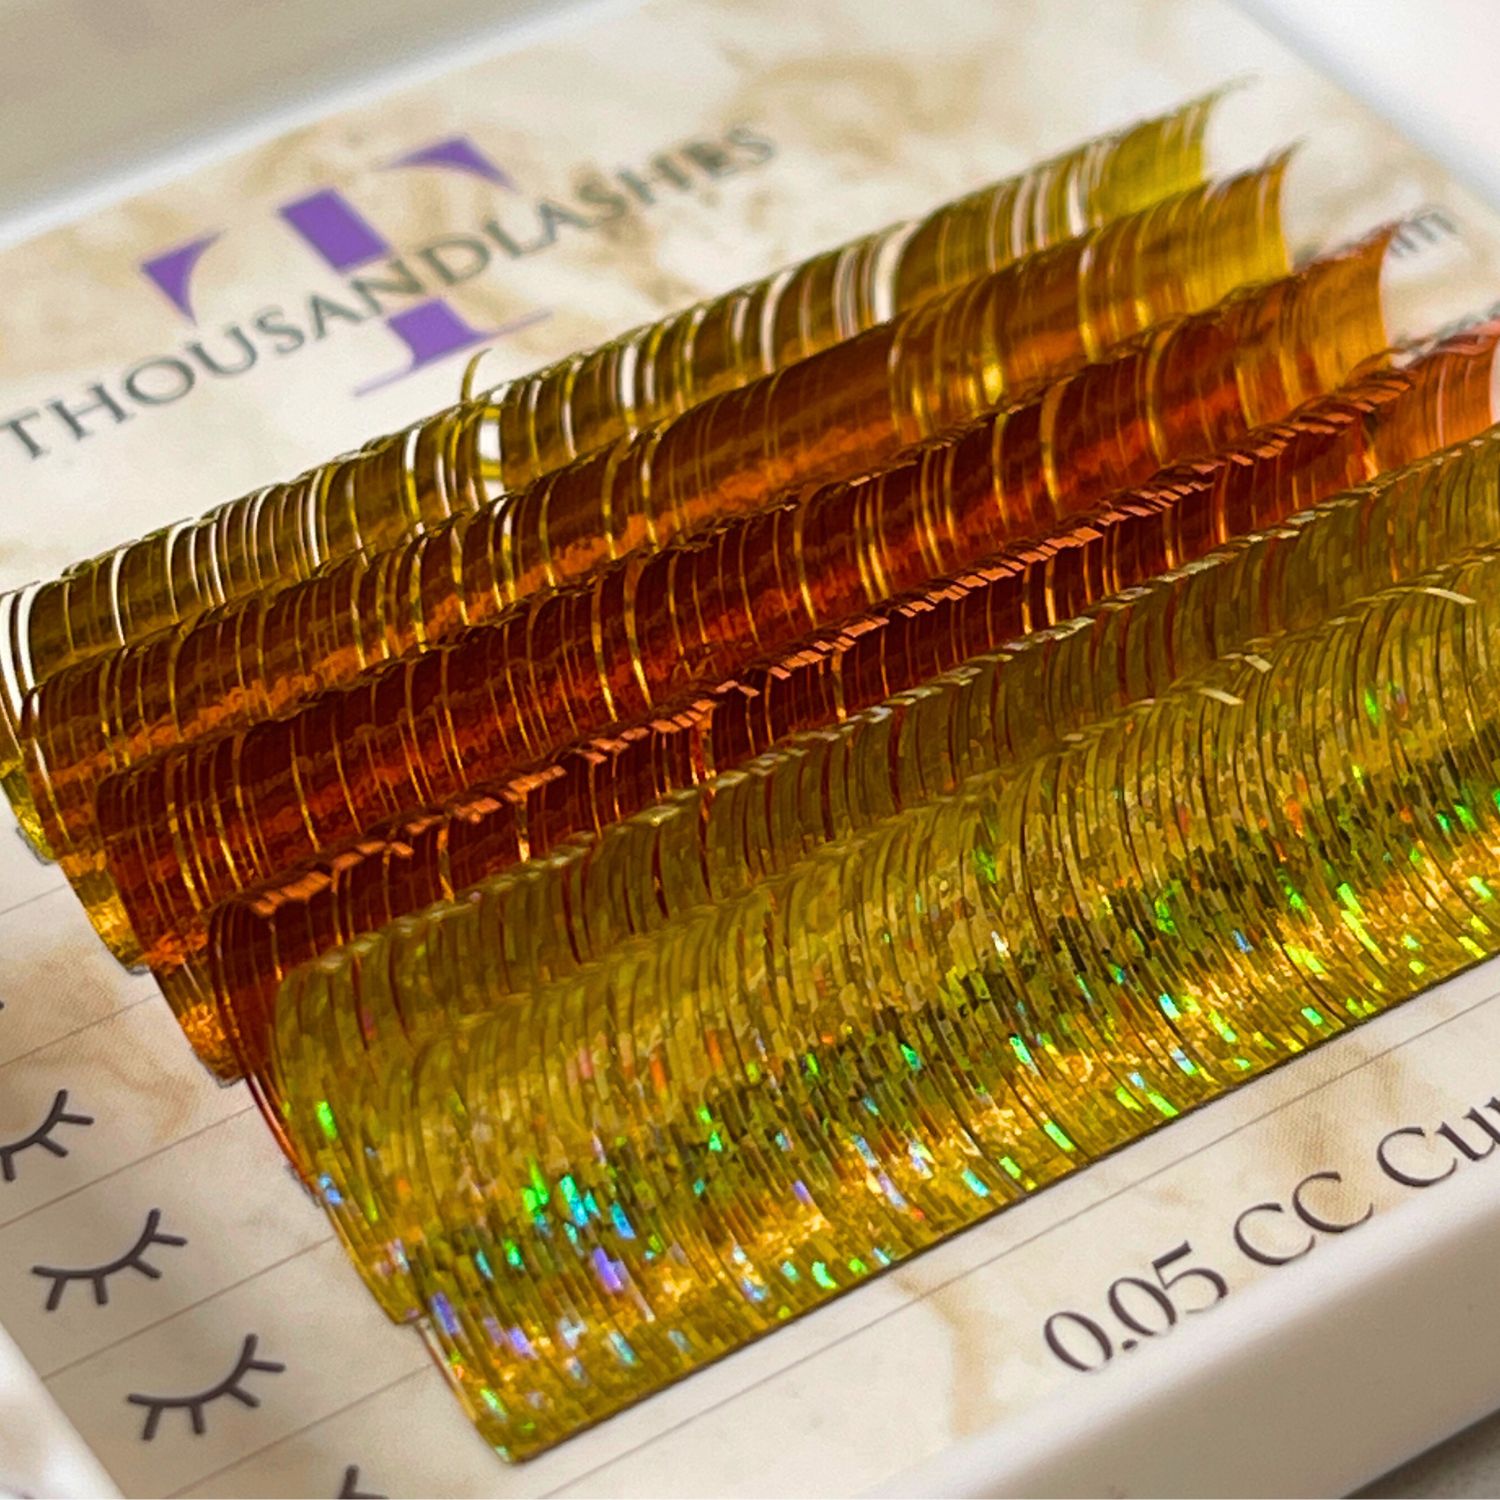
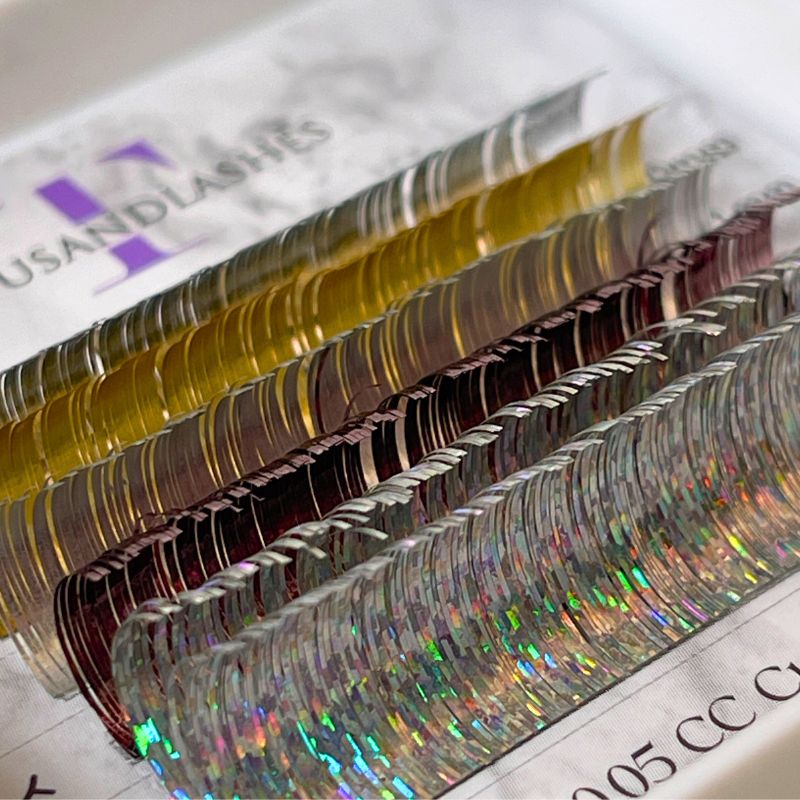
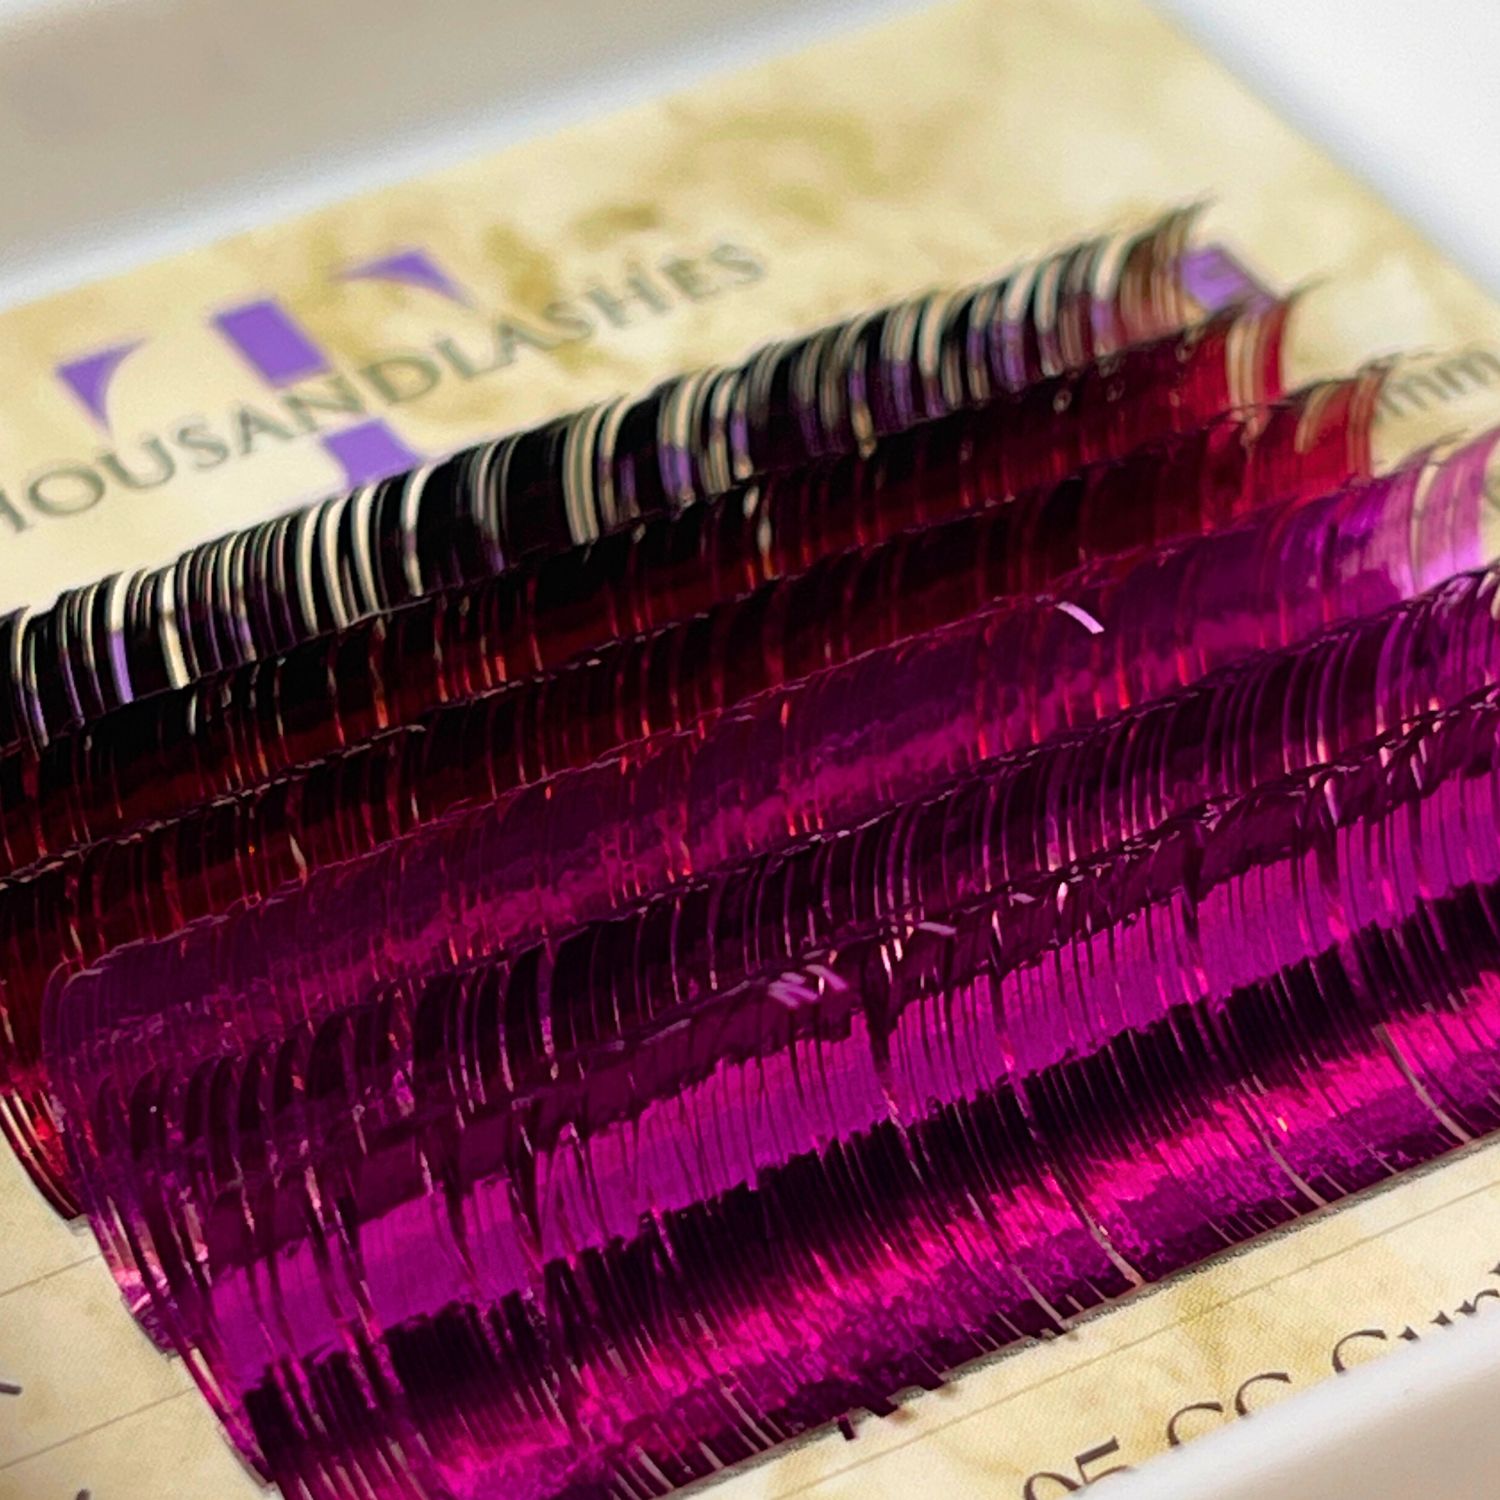
Best Tinsel Color Lashes for Every Eye Shape
Tinsel colored lashes are available in different colors but the most common are gold, silver, pink and red, blue and green, brown and purple, and multi-colored. Each color works best with specific eye shapes.
As lash artists, knowing how to pair colors with eye shapes ensures we create looks that enhance our clients' natural features.

Candy Cane Lash Collection 0.05 Mixed Length (10-15mm), Barbie Lash Adhesive, Large Tip Boot Tweezer and Flower Self-Adhesive Mini Glue Holder are used here. To shop, please click here.
Gold Tinsel Lashes
Gold lashes create a bright look and are ideal for clients who want something noticeable but not overpowering.
Best Eye Shapes for Gold Lashes:
-
Almond Eyes: Gold enhances symmetry.
-
Round Eyes: Gold elongates the lash line.
-
Monolid Eyes: Gold emphasizes the lash line.
Placement Tips:
Place gold tinsel on the outer corners for a lifted effect or spread them evenly for a balanced look.
Tinsel Lashes Sample Size 0.05 Mixed Length (10-15mm) is used here. To shop, please click here.
Silver Tinsel Lashes
Silver lashes are reflective and suit cooler skin tones or modern styles.
Best Eye Shapes for Silver Lashes:
-
Hooded Eyes: Silver creates brightness and makes the eyes appear larger.
-
Deep-Set Eyes: Silver makes the lash line more noticeable.
-
Wide-Set Eyes: Silver balances the space between wide-set eyes.
Placement Tips:
Apply silver lashes in the center of the lash line to open up the eyes.
Tinsel Lashes Sample Size 0.05 Mixed Length (10-15mm) is used here. To shop, please click here.
Pink and Red Tinsel Lashes
Pink and red lashes work well for colorful and bold looks.
Best Eye Shapes for Pink and Red Lashes:
-
Downturned Eyes: These colors lift the outer corners of the eyes.
-
Round Eyes: Pink and red add depth.
-
Almond Eyes: Pink and red enhance the lash line.
Placement Tips:
Apply pink or red tinsel lashes to the outer corners or throughout the lash line for color balance.

Tinsel Lashes Sample Size 0.05 Mixed Length (10-15mm) is used here. To shop, please click here.
Blue and Green Tinsel Lashes
Blue and green lashes suit colorful, fresh designs and can complement natural or dramatic sets.
Best Eye Shapes for Blue and Green Lashes:
-
Monolid Eyes: Blue and green highlight the lash line.
-
Deep-Set Eyes: These colors brighten the eyes.
-
Close-Set Eyes: Placing these colors on the outer corners balances close-set eyes.
Placement Tips:
Use green on the inner corners and blue on the outer corners to create a gradient effect.

Tinsel Lashes Sample Size 0.05 Mixed Length (10-15mm) is used here. To shop, please click here.
Brown and Purple Tinsel Lashes
Brown and purple lashes add depth and dimension to the lash line.
Best Eye Shapes for Brown and Purple Lashes:
-
Almond Eyes: These colors complement almond shapes.
-
Hooded Eyes: Purple creates depth in hooded eyes.
-
Wide-Set Eyes: Purple balances wide-set eyes when placed in the inner corners.
Placement Tips:
Mix brown or purple evenly throughout the lash line or add them to the outer corners for balance.
Tinsel Lashes Sample Size 0.05 Mixed Length (10-15mm) is used here. To shop, please click here.
Multi-Colored Tinsel Lashes
Multi-colored lashes combine several colors and are great for creative, bold designs.
Best Eye Shapes for Multi-Colored Lashes:
-
Round Eyes: Multi-colored lashes add variation and dimension.
-
Monolid Eyes: Multi-colored lashes create texture and contrast.
-
Deep-Set Eyes: These colors make deep-set eyes stand out.
Placement Tips:
Apply multi-colored lashes evenly across the entire lash line for a bold look or add them in small clusters for accents.
Tinsel Lashes Sample Size 0.05 Mixed Length (10-15mm) is used here. To shop, please click here.
For more tips like this one be sure to subscribe to our email list, we send very informative and helpful emails every week, please click here.
Final Thoughts
Tinsel colored lashes are all about creativity, fun, and helping your clients express themselves in bold new ways. By mastering the art of perfect placement and styling, you can give them a look that’s as unique as they are.
Whether it’s a subtle shimmer in the outer corners, a full lash line of rainbow tinsel, or a carefully layered design that blends seamlessly with natural lashes, you have all the tools to create something stunning.
So get out there, experiment with colors, and embrace the world of tinsel lashes. Your clients will thank you for it—and they'll never want to take them off!
Do you find this blog post helpful? Have you learned something? Leave a comment below and share your thoughts. Don’t forget to share this blog with your lash friend.
Be sure to follow ThousandLashes on our social media - Facebook, Instagram, Pinterest and YouTube for helpful lash tips and tricks.
Anyone needing lash support or lash tips and tricks? Thousandlashes Lash Talk for Beginner Lash Artists will always be open for the kind of support that you will be needing on this lash journey.
For more tips like this one be sure to subscribe to our email list, we send very informative and helpful emails every week, please click here.
If you want to learn and create a beautiful set of wispy lashes. We have a FREE Training Ebook just for you, please click here.
*Grab your FREE Training Ebook on wispy lashes now! ( limited time only )
First time shopping with us? Take 15% off with code 1TIME. SHOP NOW
RELATED POSTS THAT YOU MIGHT FIND HELPFUL TO UPSCALE YOUR LASH BUSINESS:
How to Choose the Right Brown Lashes for Your Clients: Find out how to select the best brown lash styles to suit different clients and eye shapes.
Classic Lash Extensions vs. Flat Lashes: Key Differences Explained: Understand the differences between flat and traditional lashes to choose the right style for your clients.
Master The Skills Of Color Lash Extensions: Learn how to apply color lash extensions with our easy-to-follow guide.
Share